Iron On Transfer Paper Guide: Create Custom T-Shirts at Home
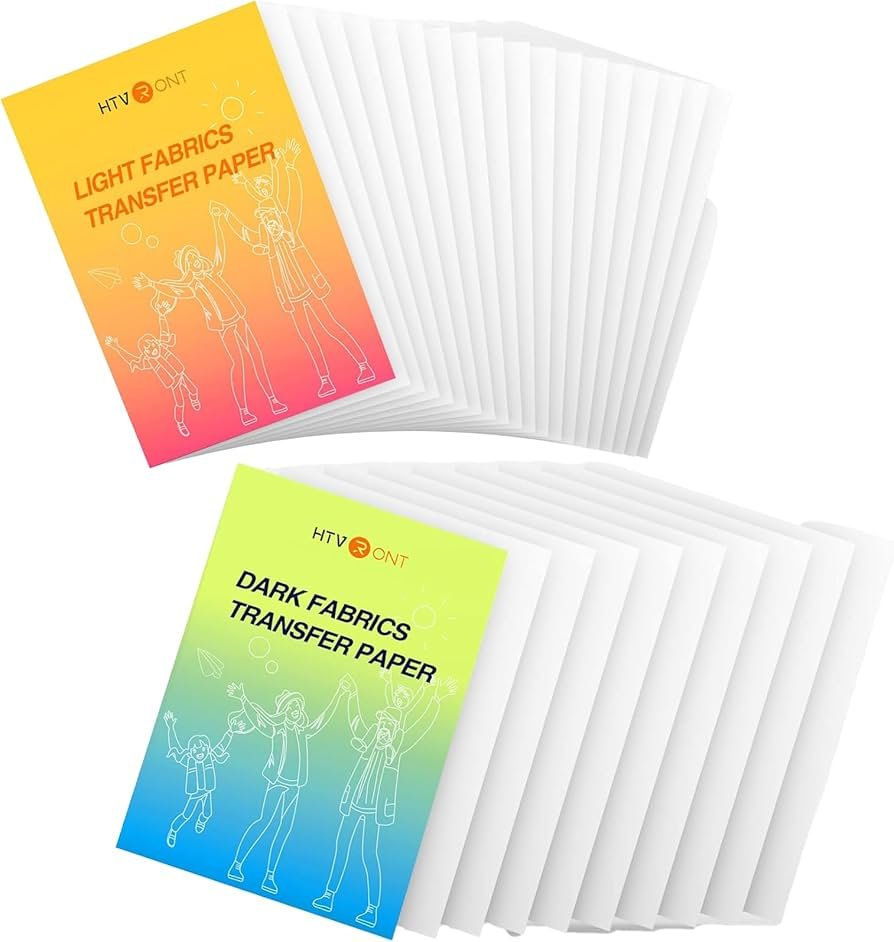
Printable Heat Transfer Vinyl for Light Fabrics
Premium printable heat transfer vinyl designed specifically for light-colored cotton and cotton-blend fabrics. Creates vibrant, long-lasting designs with your home inkjet printer. Easy weeding and smooth application make this perfect for beginners and experienced crafters alike.
Key Features:
- Compatible with inkjet printers
- Works on light fabrics
- Easy weeding process
- Durable wash resistance
- Smooth matte finish
- No cutting machine required

Dark Fabric Transfer Paper
Specialized transfer paper formulated for dark and colored fabrics. Features a white base layer that ensures vibrant color reproduction on any fabric shade. Simple mirror-image printing and heat application create professional-quality custom apparel with exceptional durability and stretch.
Key Features:
- Designed for dark fabrics
- White opaque base layer
- Excellent color vibrancy
- Flexible finished design
- Machine washable results
- Mirror-image printing required
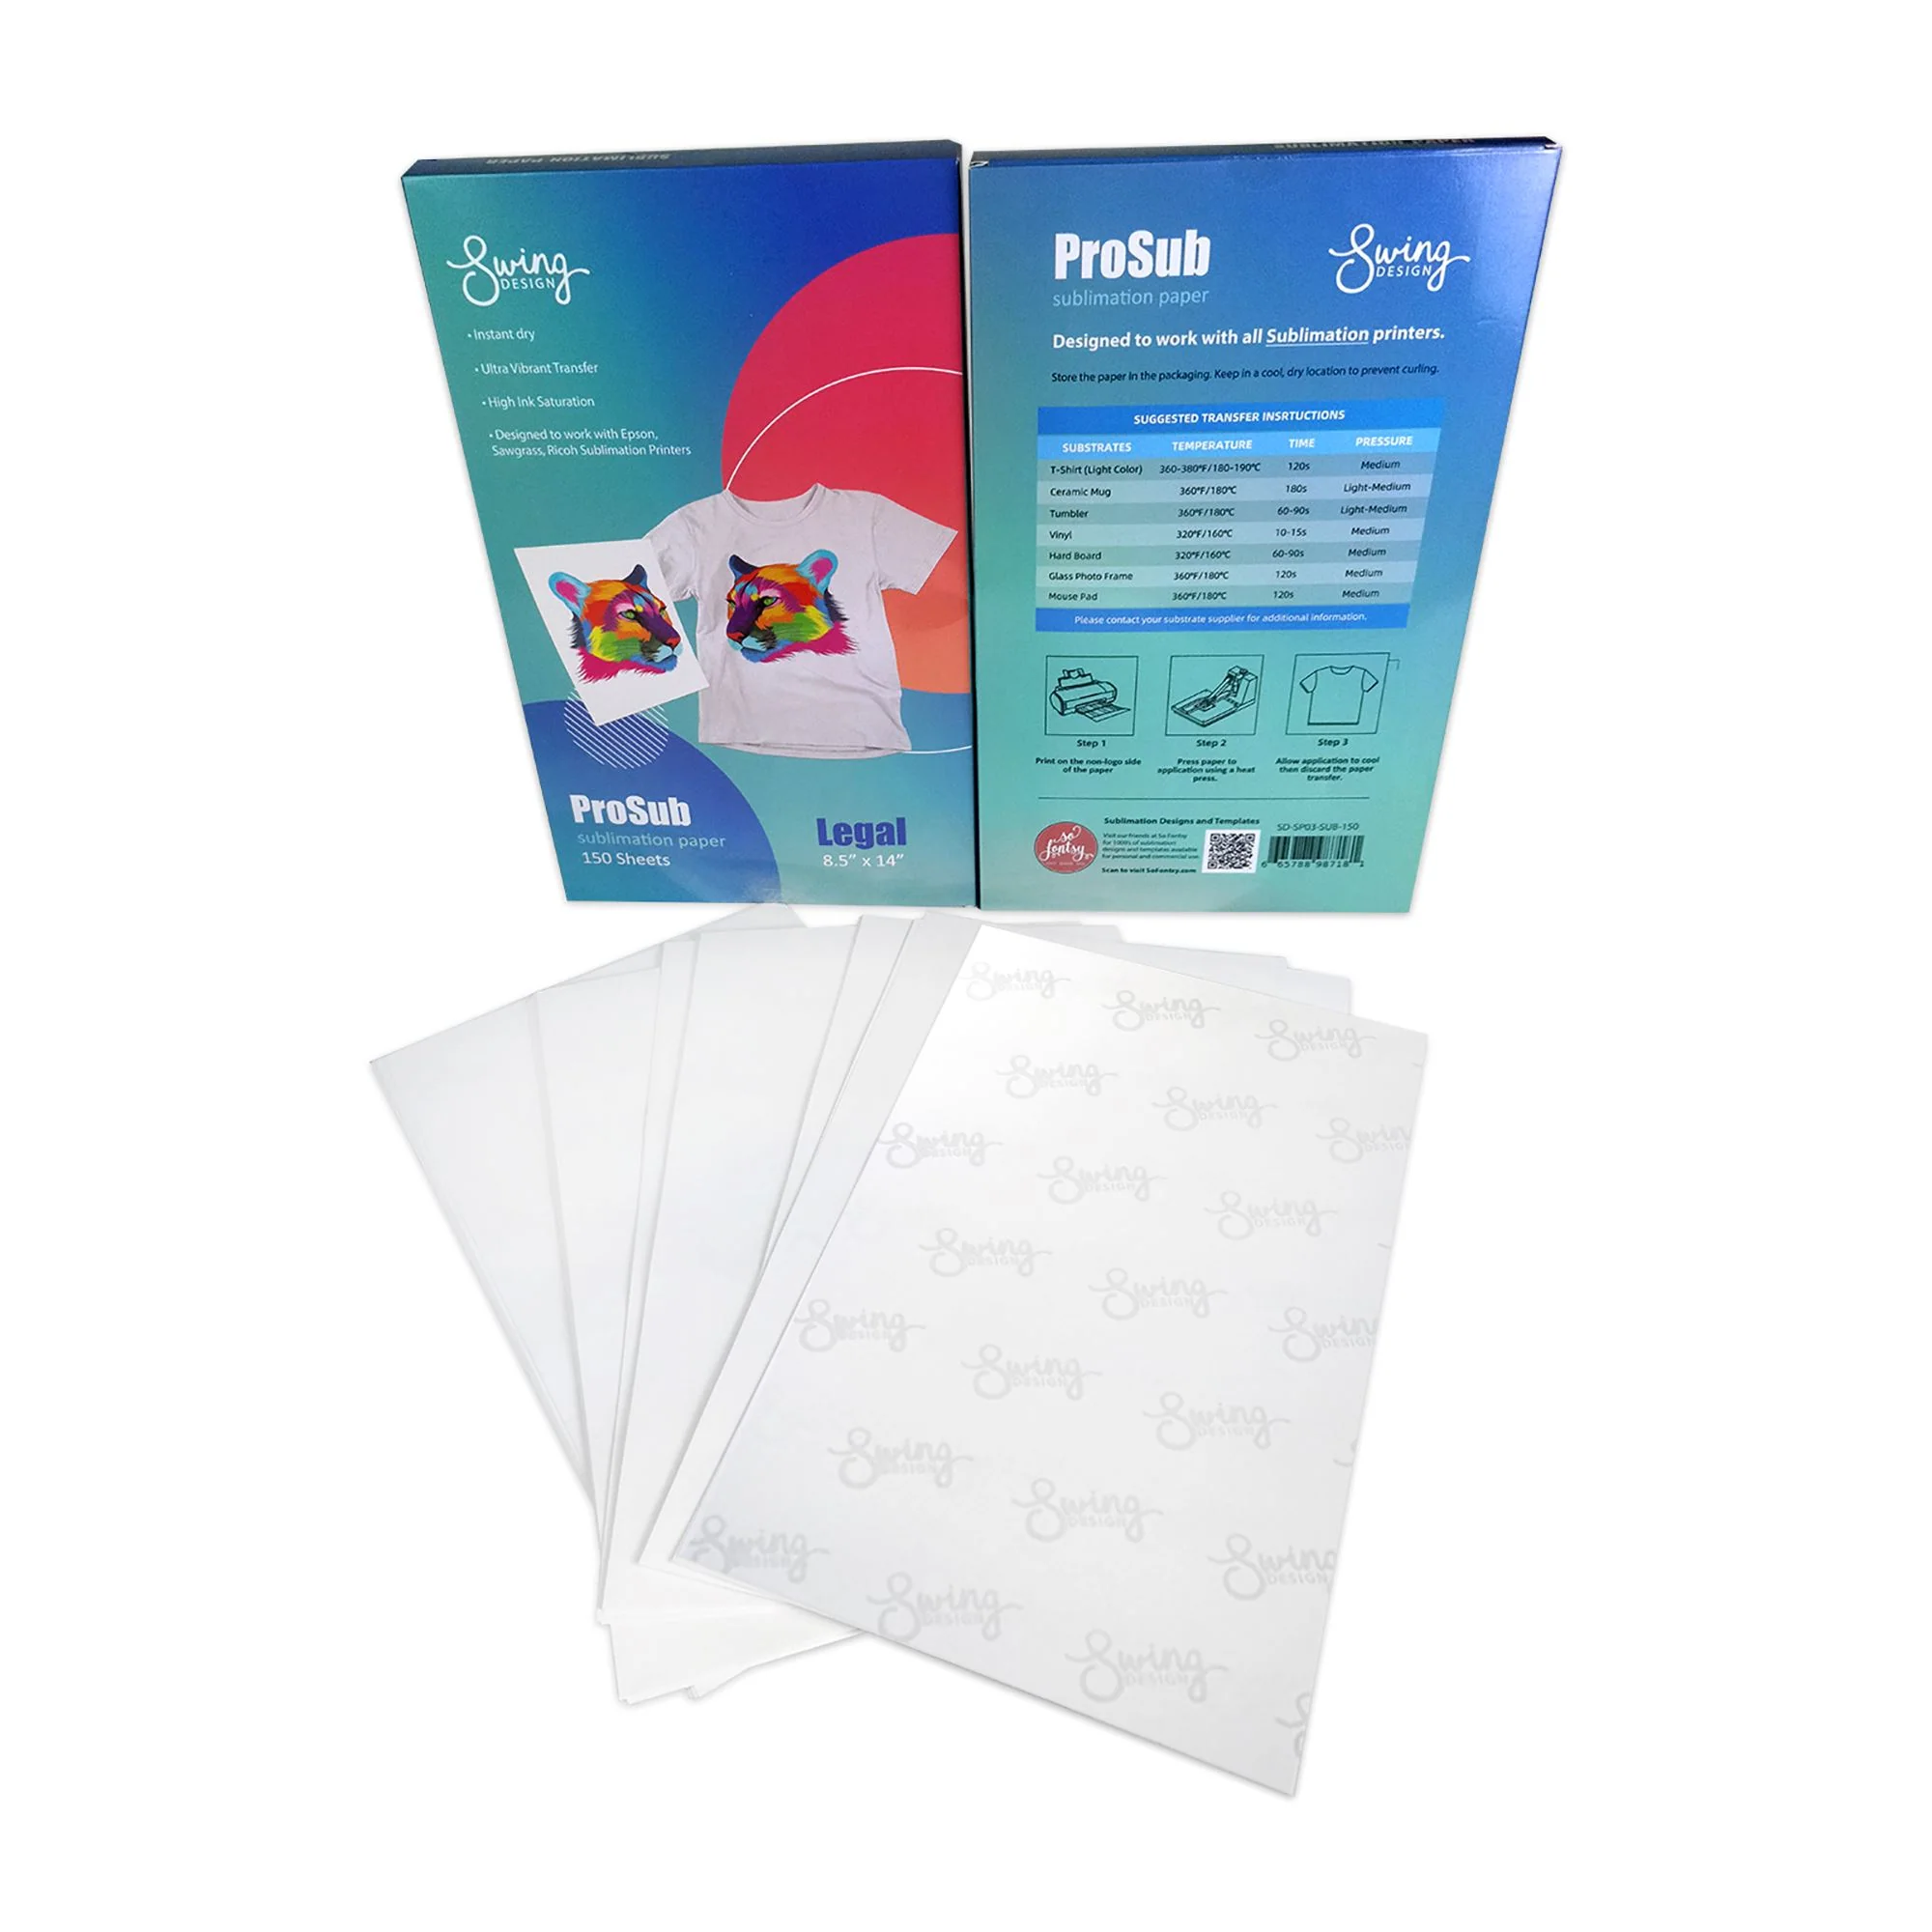
Sublimation Transfer Paper
High-quality sublimation paper for creating professional custom designs on polyester fabrics and polymer-coated items. Produces brilliant, fade-resistant colors that become part of the fabric rather than sitting on top. Perfect for athletic wear, mugs, and promotional items.
Key Features:
- Works with sublimation inks
- Best for polyester fabrics
- Fade-resistant colors
- Professional finish quality
- No hand feel after application
- Suitable for complex designs
What Is Iron On Transfer Paper and How Does It Work
Iron on transfer paper is a specially coated medium that allows you to print designs at home and transfer them onto fabric using heat and pressure. This innovative crafting material transforms ordinary t-shirts, bags, and other fabric items into personalized creations.
The process involves printing your desired image onto the iron on transfer paper using a standard inkjet or laser printer. Once printed, you position the transfer face-down on your fabric and apply heat using a household iron or heat press. The combination of heat and pressure activates the adhesive coating, permanently bonding your design to the fabric.
Types of Iron On Transfer Materials
Several types of iron on transfer materials are available, each designed for specific applications. Traditional transfer papers work best on light-colored fabrics like white or pale cotton shirts. These papers allow ink colors to show through clearly without requiring an opaque base layer.
Dark fabric iron on transfer papers feature a white backing that prevents the fabric color from showing through your design. This type ensures vibrant colors on dark shirts, though it creates a slightly thicker feel on the finished garment.
Vinyl heat transfer material offers the most professional results and durability. While requiring a cutting machine for intricate designs, vinyl transfers withstand repeated washing better than paper-based options.
Choosing the Right Iron On Transfer for Your Project
Selecting the appropriate iron on transfer material depends on your fabric type, design complexity, and intended use. Light fabrics like white or cream cotton work beautifully with standard transfer papers, producing soft, flexible results that feel natural against the skin.
Dark and colored fabrics require specialized iron on transfer papers with opaque backing layers. These transfers cost slightly more but ensure your designs remain vibrant and visible regardless of the underlying fabric color.
Fabric Compatibility Considerations
Cotton and cotton blends accept iron on transfer applications most successfully. These natural fibers handle the heat required for proper adhesion without melting or distorting. Aim for fabrics containing at least 50% cotton for optimal results.
Polyester fabrics work well with lower-temperature transfer methods but may require sublimation papers for the best color vibrancy. Synthetic materials can melt under excessive heat, so always test on a small, hidden area first.
Avoid applying iron on transfer materials to fabrics with special finishes, heavy textures, or water-resistant coatings. These treatments can prevent proper adhesion and lead to premature peeling or cracking.
Step-by-Step Iron On Transfer Application Process
Successful iron on transfer application requires careful preparation and attention to detail. Begin by washing and drying your fabric item to remove any sizing, oils, or fabric softener residue that could interfere with adhesion.
Print your design on the iron on transfer paper according to the manufacturer’s instructions. Most papers require mirror-image printing, so remember to flip your design horizontally before printing. Allow the printed transfer to dry completely before proceeding.
Proper Heat Application Technique
Preheat your iron to the temperature specified on your iron on transfer packaging, typically between 300-350°F. Disable the steam function, as moisture can interfere with proper adhesion and cause uneven results.
Place your fabric on a hard, flat surface and position the transfer face-down in the desired location. Apply firm, even pressure while moving the iron slowly across the entire design area. Most transfers require 15-30 seconds of heat application per section.
Finishing and Peeling Process
Allow the transfer to cool for the time specified in the instructions before attempting to remove the backing paper. Some iron on transfer types require immediate peeling while hot, while others need cooling time for proper adhesion.
Peel the backing paper slowly and steadily, watching for any areas that haven’t adhered properly. If you notice lifting edges, reapply heat and pressure to those specific areas before the adhesive cools completely.
Design Tips for Professional Iron On Transfer Results
Creating professional-looking iron on transfer designs starts with selecting high-quality images and graphics. Use high-resolution images (300 DPI or higher) to ensure crisp, clear results when printed and transferred to fabric.
Bold designs with strong contrast work best for iron on transfer applications. Fine details and thin lines may not transfer clearly, especially on textured fabrics. Consider simplifying complex designs or increasing line weights for better visibility.
Color Selection and Printing Guidelines
Choose colors that complement your fabric choice and intended use. Bright, saturated colors typically transfer more successfully than pale or muted tones. Remember that colors may appear slightly different on fabric than they do on your computer screen or test print.
Print test copies on regular paper first to check colors, sizing, and layout before using your iron on transfer paper. This practice saves money and ensures satisfaction with your final design before committing to the transfer process.
Sizing and Placement Considerations
Measure your design area carefully and leave adequate margins around your transfer. Most iron on transfer applications look best when centered on the garment and sized appropriately for the wearer and garment style.
Consider the garment’s intended use when planning design placement. Transfers on high-wear areas like sleeve cuffs or pocket edges may experience more stress and wear than those placed on the chest or back areas.
Caring for Iron On Transfer Garments
Proper care extends the life of your iron on transfer designs significantly. Turn garments inside out before washing to protect the transfer surface from direct agitation and contact with other clothing items during the wash cycle.
Wash in cold water using gentle detergents without bleach or fabric softeners. These additives can break down the adhesive bond and cause premature peeling or fading of your iron on transfer design.
Drying and Storage Best Practices
Air dry transferred garments whenever possible, as high heat from dryers can soften the adhesive and cause design shifting or peeling. If machine drying is necessary, use low heat settings and remove garments while slightly damp to finish air drying.
Store transferred garments folded rather than hung when possible to avoid stress on the transfer area. If hanging is necessary, use padded hangers and avoid placing hangers directly through transfer areas.
Troubleshooting Common Issues
Edge lifting often indicates insufficient heat or pressure during application. Reapply heat to affected areas while the transfer is still workable, or consider using fabric adhesive for spot repairs on older transfers.
Cracking typically results from over-stretching or exposure to excessive heat. While difficult to repair, you can sometimes minimize appearance by applying fabric paint carefully to affected areas or incorporating cracks into the design aesthetic.
Advanced Iron On Transfer Techniques and Creative Ideas
Layer different iron on transfer materials to create unique textures and visual effects. Combine matte and glossy transfers, or add glitter or metallic accents over base designs for eye-catching results that stand out from standard single-layer applications.
Create custom photo transfers using family pictures, pet photos, or memorable moments. Adjust image contrast and brightness before printing to ensure clear, recognizable results on fabric. Black and white photos often transfer more successfully than complex color photographs.
Multi-Color and Complex Design Applications
Build complex designs using multiple iron on transfer pieces applied in layers. Plan your application sequence carefully, applying background elements first and adding detail layers progressively. Allow each layer to cool completely before adding subsequent elements.
Use registration marks or temporary positioning guides to ensure accurate placement of multi-piece designs. Removable fabric markers or light pencil lines can help maintain alignment during the application process.
Combining Iron On Transfer with Other Techniques
Enhance iron on transfer designs with hand-painted details, embroidery, or fabric markers. Apply transfers first, then add hand-drawn elements to create truly unique, personalized items that showcase multiple crafting skills.
Combine different transfer types on single garments for varied textures and finishes. Use vinyl transfers for text elements and printed transfers for photographic or complex graphic components to optimize each material’s strengths.
Frequently Asked Questions
Transform Your Creative Vision with Iron On Transfers
Iron on transfer technology opens endless possibilities for personalizing clothing, accessories, and home décor items. Whether you’re creating custom t-shirts for family reunions, designing unique gifts, or building a small crafting business, mastering iron on transfer techniques provides a valuable and rewarding skill set.
Success with iron on transfer projects comes from understanding material properties, following proper application procedures, and caring for finished items appropriately. Take time to experiment with different transfer types and techniques to discover which methods work best for your specific projects and preferences.
The investment in quality iron on transfer materials and tools pays dividends in professional-looking results and long-lasting designs. Start with simple projects to build confidence and skills before attempting complex multi-layer or photographic transfers.
Remember that practice makes perfect when working with iron on transfer materials. Each successful project builds your expertise and opens new creative possibilities. Soon you’ll be creating custom designs that rival professionally manufactured items while enjoying the satisfaction of handmade creativity.